How to save a custom view
How to save a Custom View
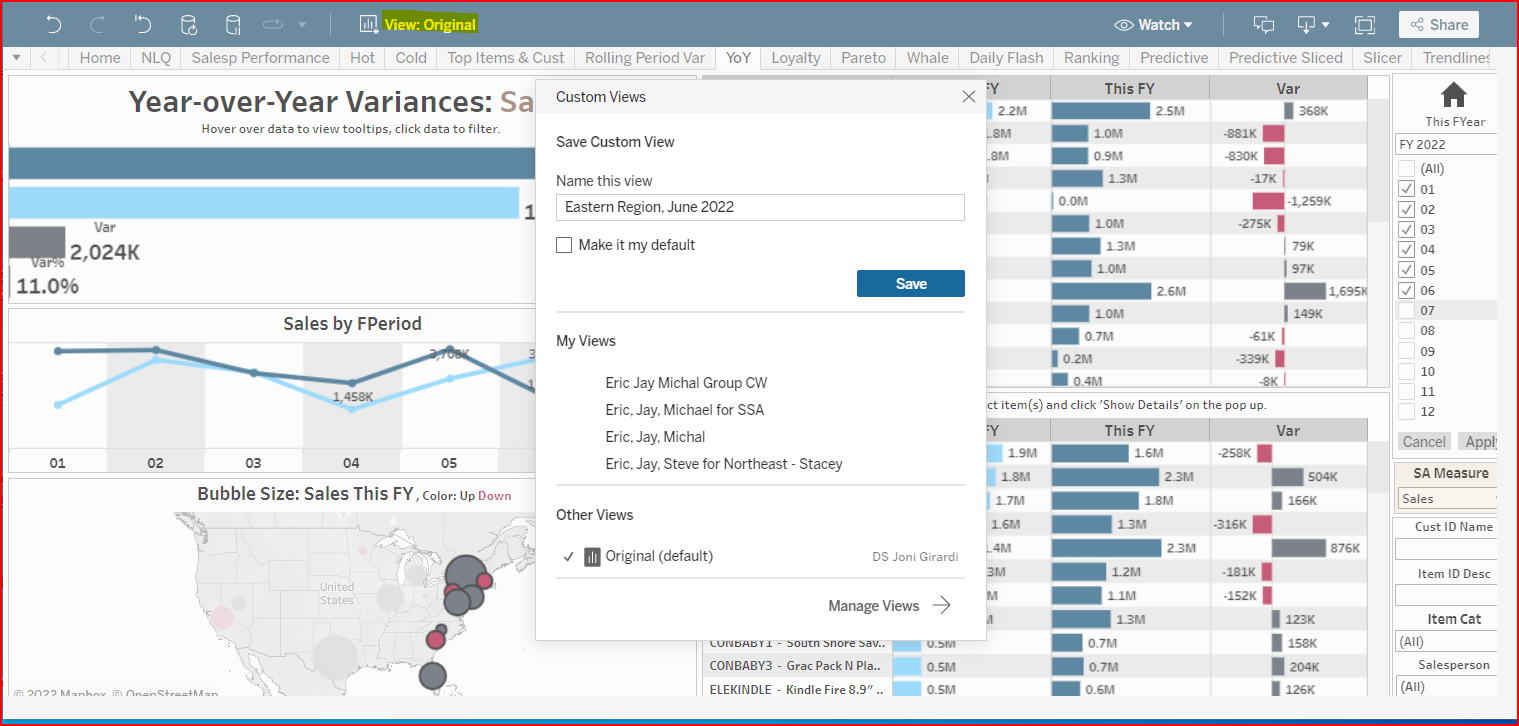
At the top of the screen in the green-blue banner click on the View: Original button.
This displays a Custom Views window where you can name your custom view and save it.
In the example below, the sales geography for only the Eastern coast was selected by dragging the selection box over the bubbles. The year FY 2022 is selected and months 01 - 06 are checked. These are my settings I want to save. I clicked on View Original, named my view Eastern Region, June 2022, and clicked Save.

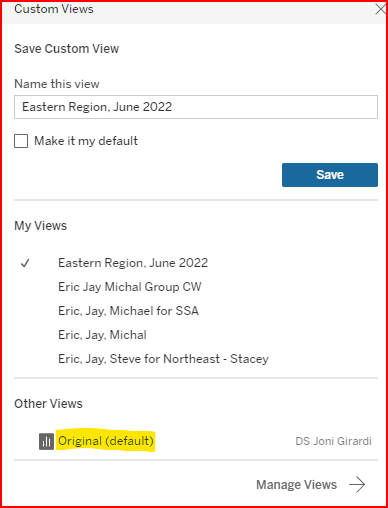
Click on the View menu to see the custom views list
Now the banner says View: Eastern Region, June 2022.

See the custom view name in the blue banner at top
To switch to another view, click on the view icon and select the one you want. Note the Original View is at the bottom of the window.

Select a different view
