
See also: Embed DataSelf in Acumatica via Site Map
Embedding DataSelf Tableau Reports and Dashboards
1. In Acumatica, Search for "Dashboards" under "Profiles" and click on it.
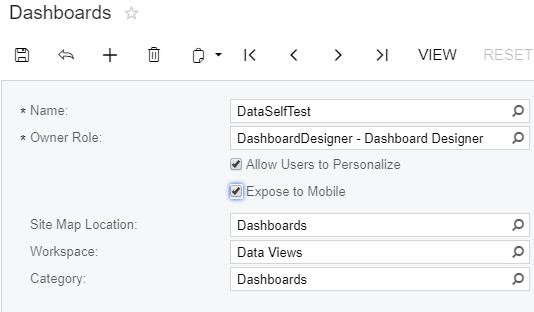
2. Click '+' to create a new dashboard, fill out the parameters and click Save.
The visual below of example of parameters may vary by Acumatica version. Be aware of the following:
-
Name This will be visible to the end user in some Acumatica versions.
-
Make Visible on the UI-If this is omitted, then your work will not be visible.
-
Workspace -Data Views is standard in the left menu.
-
Category - Inquiries and Dashboards are available norms.
-
Add New Node - If you would like the dashboard to show with custom name.
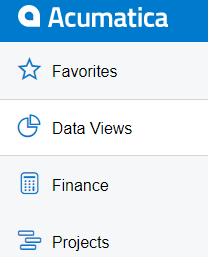
3. Go to the location you specified in the Workspace and Category sections (ex. left-hand pane data views) and find the "Dashboard" page that you just created. You may need to click Show Full Menu for what you just created to be visible. Click on it.
4. Once in the page, look for the "Design" button in the top right corner. Click on it and you will enter the Design mode for the dashboard page.
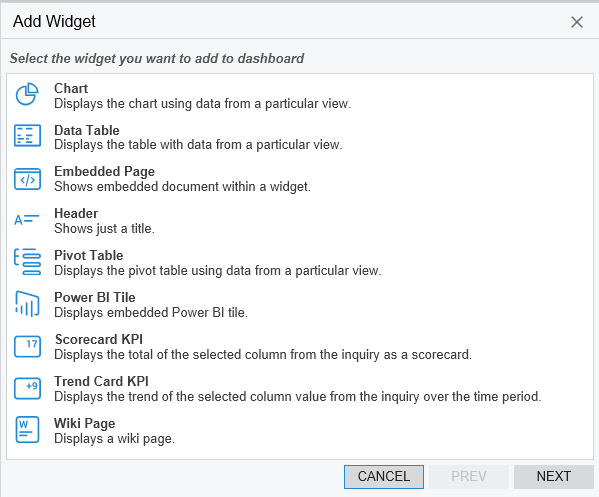
5. You will now see a gray box with "Drag your widget here or add a new widget" Click the "add a new widget" which opens the following menu where you will click "Embedded Page".
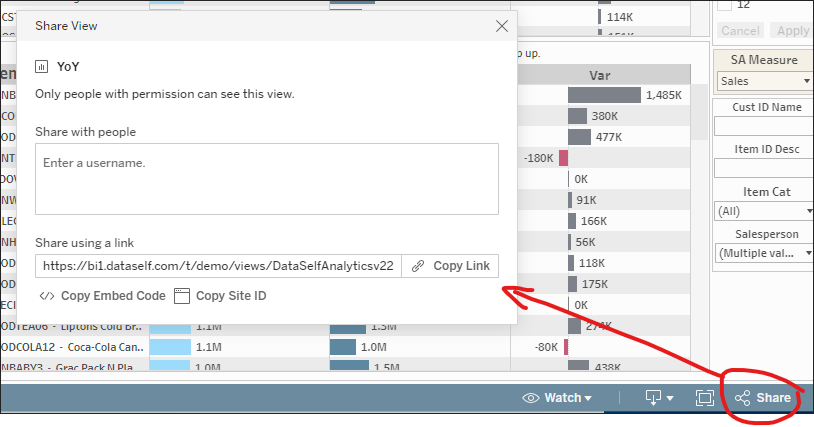
6. Go to the Dataself dashboard that you would like to embed, click Share on the top or bottom right, click Copy Link; paste it into a text app and add ?:showVizHome=no&:embed=true to the end of it. Ex.:
-
Copied text:
-
https://dataselfbi.com/t/d/views/DataSelfAnalytics/YoY
-
Suffix added:
-
https://dataselfbi.com/t/d/views/DataSelfAnalytics/YoY?:showVizHome=no&:embed=true
-
Copy the modified URL above into the Url field in Acumatica.
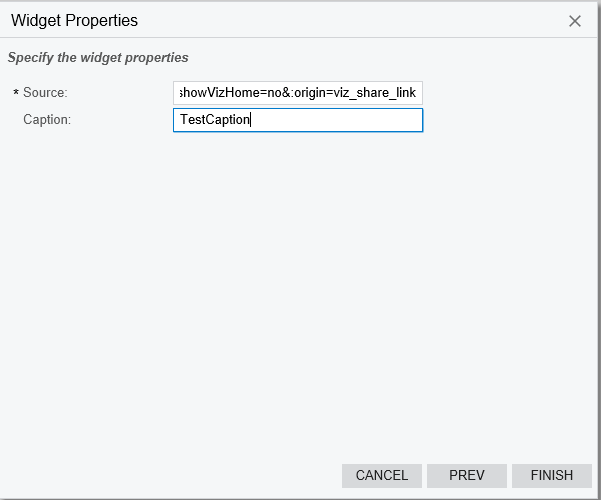
7. Paste that link into the "Source" section from the Widget Properties in Acumatica and optionally add a name in the "Caption" section. Click Finish, Click Design again.
Try it out
That's it! Click on the dashboard name in Acumatica to launch the embedded DataSelf dashboard or report.