
For the Personalize visuals feature, you can use Perspectives to choose a subset of a model that provides a more focused view. Choosing a subset can be helpful when working with a large data model, allowing you to focus on a manageable subset of fields, and not overwhelm report readers with the full collection of fields in that large model. See Personalized Visuals for more details.
To use Perspectives, you must enable Personalize visuals for the report. You also must create at least one Perspective that includes the dimensions and measures you want end-users to interact with for the Personalize visuals experience.
Prerequisites
Download and install Tabular Editor (v2 or v3)
Enable personalization in a report
You can enable the feature either in Power BI Desktop or the Power BI service. You can also enable it in embedded reports.
In Power BI Desktop
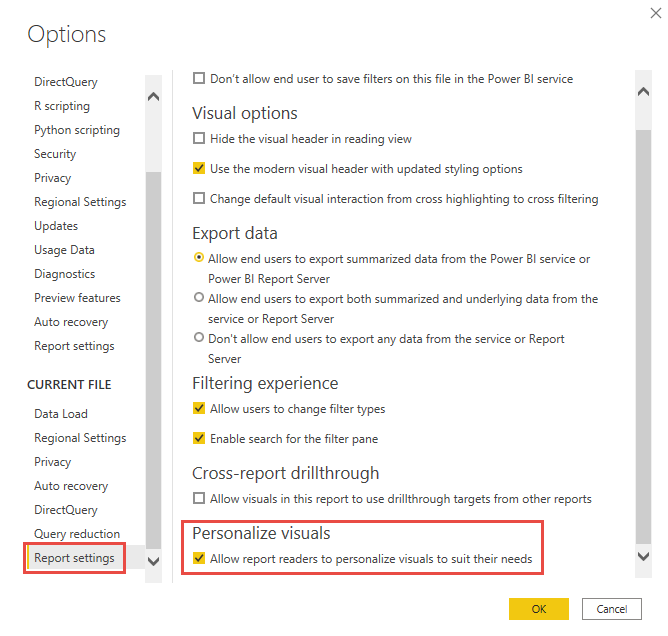
To enable the feature in Power BI Desktop, go to File > Options and settings > Options > Current file > Report settings. Make sure Personalize visuals is turned on.
In the Power BI Service
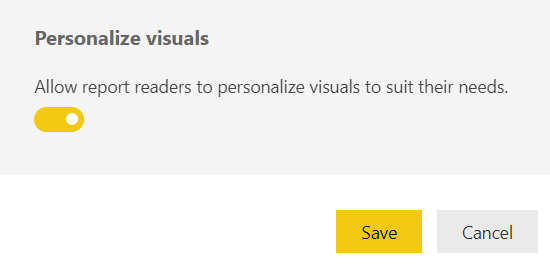
To enable the feature in the Power BI service instead, go to Settings for your report.

Turn on Personalize visuals > Save.
Instructions to create a perspective
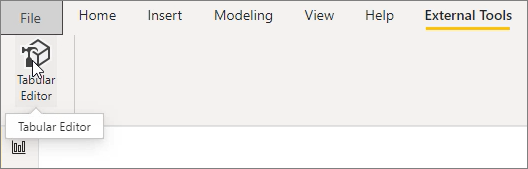
Once you install Tabular Editor, open your report in Power BI Desktop and launch Tabular Editor from the External Tools tab of the ribbon, as shown in the following image.
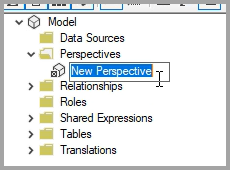
In Tabular Editor, right-click on the Perspectives folder to create a new perspective.
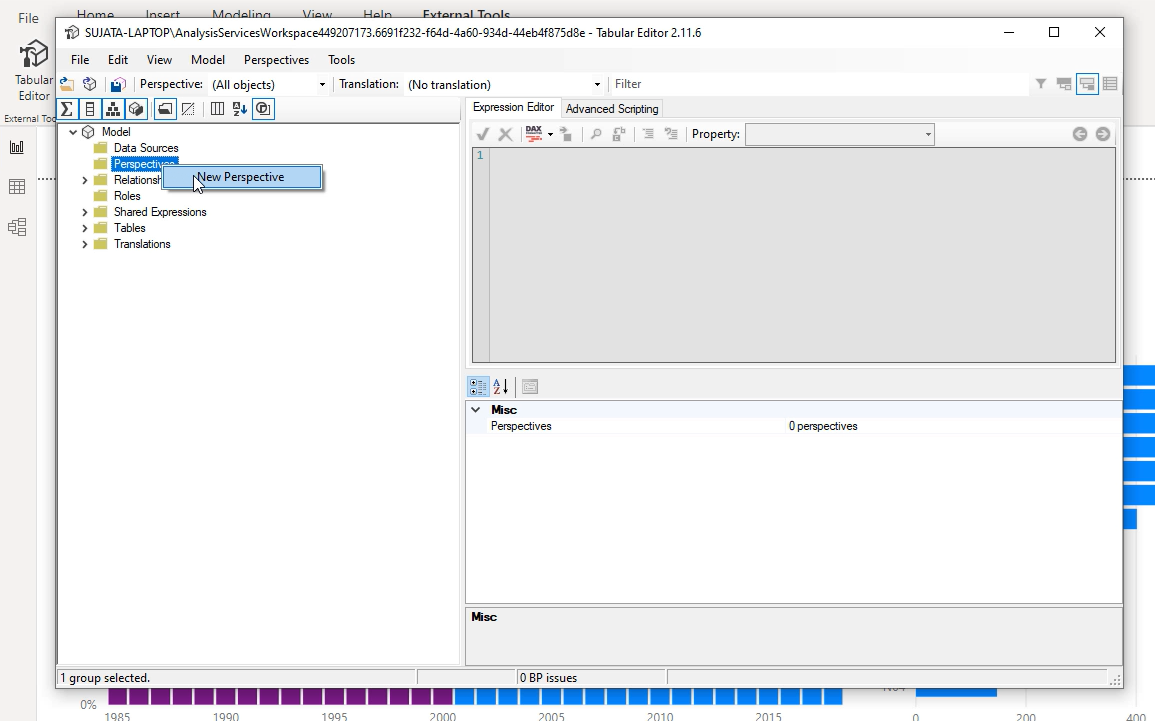
You can double-click the text to rename the perspective.
Next, add fields to the perspective by opening the Tables folder in Tabular Editor. Then right-click on the fields you want to show in the perspective.
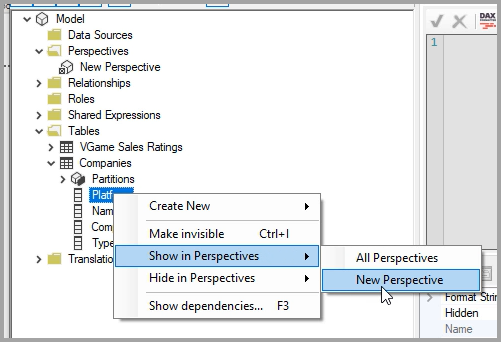
Repeat that process for each field you want to add to the perspective. You can’t add duplicate fields in a perspective, so any fields you already added to a perspective will have the option to add it disabled.
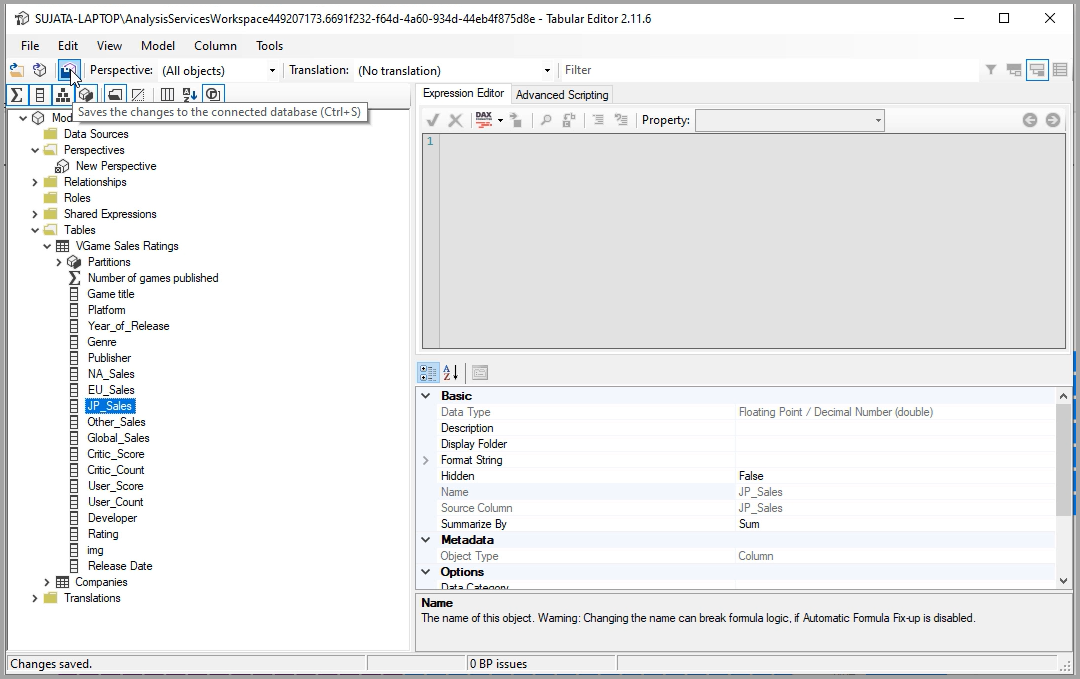
After you added all the fields you want, be sure to save your settings, both in Tabular Editor and then also in Power BI Desktop.
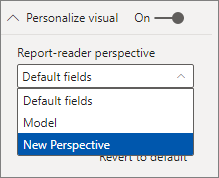
Once you save the new perspective to the model, and save the Power BI Desktop report, navigate to the Format pane for the page, where you see a new section for Personalize visual.
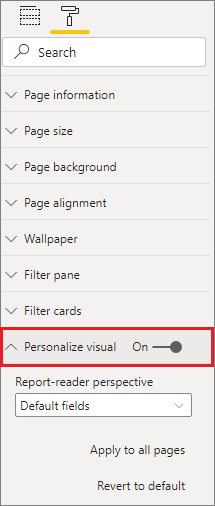
The selection for Report-reader perspective is set to Default fields initially. Once you select the drop down arrow, you see the other Perspectives you’ve created.
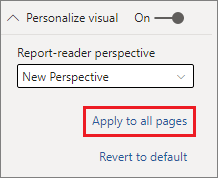
Once you set the Perspective for the report page, the Personalize visuals experience for that page is filtered to the selected Perspective. Selecting Apply to all pages lets you apply your Perspective setting to all existing pages in your report.
Limitations
-
This feature isn't supported for publish to web.
-
Export to PowerPoint and PDF do not capture personalized visuals.
-
User explorations don't automatically persist. You need to save your view as a personal bookmark to capture your changes.
-
This feature is supported in the Power BI mobile apps for iOS and Android tablets and in the Power BI Windows app; it is not supported in the Power BI mobile apps for phones. However, any change to a visual you save in a personal bookmark while in the Power BI service is respected in all the Power BI mobile apps.