
DataSelf Bridge securely connects DataSelf NOW to your specified local resources such as RDP access to a target computer on your private cloud or on-premises network through a dedicated, SSL-encrypted reverse proxy connection to your DataSelf NOW instance.
To get started, install Bridge on a Windows computer that can access your target computer resource, and configure the local connection.
Before you begin
Have the following information ready:
|
Information |
Where you’ll use it |
|---|---|
|
Windows admin credentials to install DataSelf Bridge |
During Bridge installation |
|
One-time enrollment code, provided by DataSelf |
During Bridge installation |
1. Install DataSelf Bridge
Install Bridge on a Windows computer that can reach your target computer; you can install Bridge on the target computer.
-
Run the installer and click Next.
-
Leave the Server URL unchanged.
-
Enter the one-time enrollment code provided by DataSelf.
-
Click Next, then Install.
-
Click Yes if Windows displays a User Account Control prompt.
-
Click Finish.
DataSelf Bridge should now be running as a Windows service, with its icon available in the Windows system tray.
2. Configure RDP access to your target computer
This step tells Bridge how to reach the target computer on your network.
-
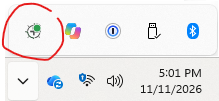
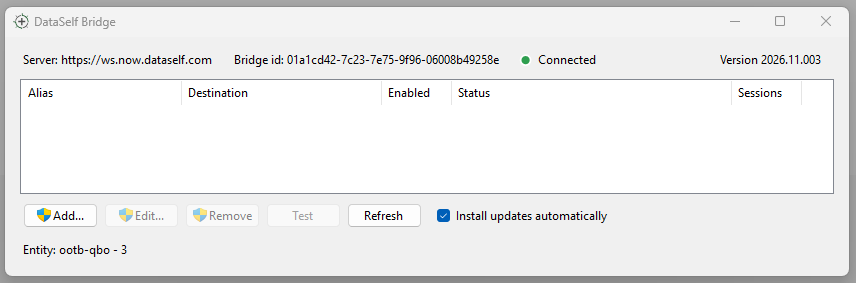
Double-click the DataSelf Bridge icon in the Windows system tray.
-
Click Add.
-
Click Yes if Windows displays a User Account Control prompt.
-
Enter the connection details:
-
-
Alias: A descriptive name, such as
RDP Access. -
Host or IP: The hostname or IP address reachable from the Bridge computer. Use
localhostto provide RDP access to the computer where the Bridge is. -
Port: The port on which the RDP service listens, by default, the port is
3389.
-
-
Click OK.
-
Confirm that the new entry appears with an Active status.
-
The provide to your DataSelf support personnel the RDP Windows credentials to log to the target computer.